Safe and reliable method to repair damaged Outlook OST files. Fix mailbox errors, recover lost emails, and convert OST to PST in minutes.
OST file is just a file format that Outlook uses to store a copy of its user’s data, such as emails, calendars, events, etc. Due to some common reasons, the users face OST file corruption issues.
So, users have to look for ways to repair OST files to get their OST files corruption-free. It becomes necessary for users to take this step because the corrupt OST file can cause serious issues.
Mostly, the data of the OST file gets inaccessible for users and the need for repairing OST files emerges.
Here, users will learn some solutions to complete this repair process. In this blog, we will share the manual as well as professional solutions to repair .ost in Outlook.
So, continue reading this blog to the end and understand each method to do this task effectively.
Common causes behind the OST file corruption issue
Before knowing the solutions, let us learn some common causes behind corruption.
Users can read the below points and understand the reasons.
- The sudden power failure is one of the most common reasons behind corrupting OST files.
- Moreover, the large size of the OST file can also be a reason why users are facing the corruption issue.
- If you have deleted a file or folder accidentally from your Exchange profile, you can face the OST file corruption issues.
Behind it, there can be more reasons, and users need to know how to repair OST files in the Outlook program.
Let us move on to the ways to perform this repair process.
You may also like: Different Methods to Import EML Files into Outlook
Various solutions to repair .ost file in the MS Outlook
We will learn the different procedures to complete the OST file repairing task. Basically, we prefer the manual techniques to repair OST files in Outlook. The manual methods are a bit complex to complete this task.
So, we have also shared automated software to get an easy working procedure to do this task.
Now, we will start learning the manual methods where we will share the two simple manual ways to complete this task.
Let’s see the complete stepwise working of each solution.
How to repair OST files using the two manual methods?
We will start the manual method with the ScanPST.exe utility. Microsoft provides the ScanPST.exe utility to repair OST files in your system. This utility works for both OST and PST files. So, let us learn how users can use this utility to do this task.
Method 1. Repairing OST files using the ScanPST.exe utility
- First, users need to close the Outlook program before starting the procedure. Also, make sure that all the Outlook-related processes are closed before beginning the process.
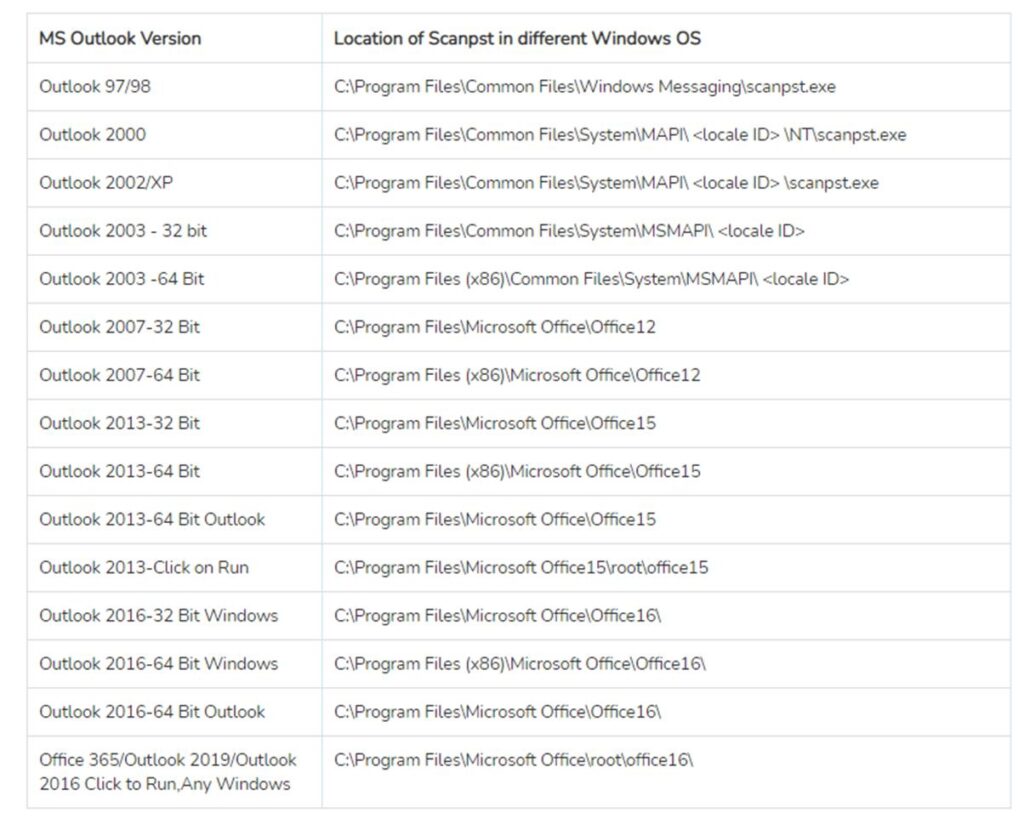
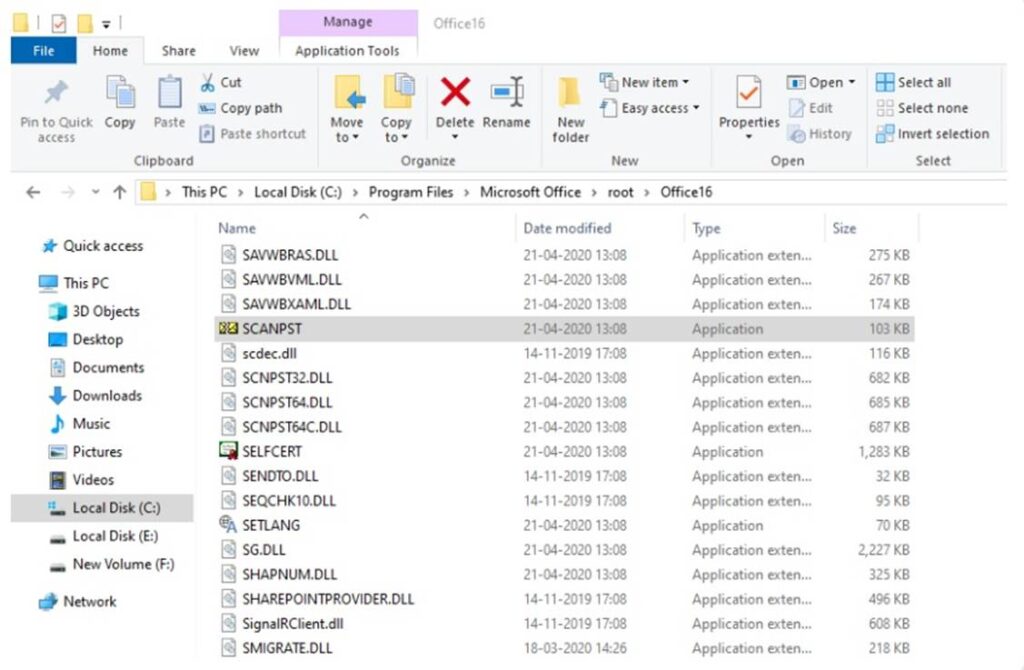
- After that, start finding the ScanPST.exe utility on your system. You can use the screenshot below to locate this utility on your system.
- Then, double-click on the ScanPST.exe (Inbox Repair Tool) to open it.
- Now, hit the Browse button and select the OST file you want to repair.
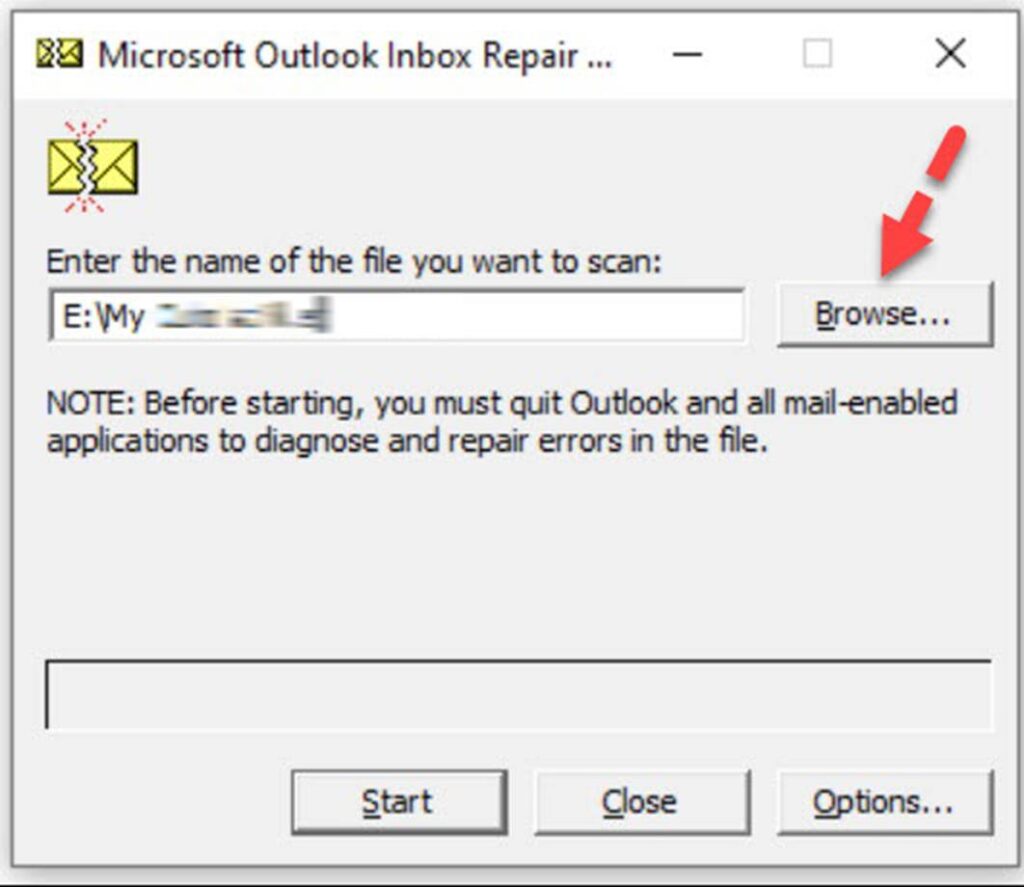
- Afterwards, tap the Start button to begin the OST file scanning process.
- The utility will share the complete details after completing the scanning process.
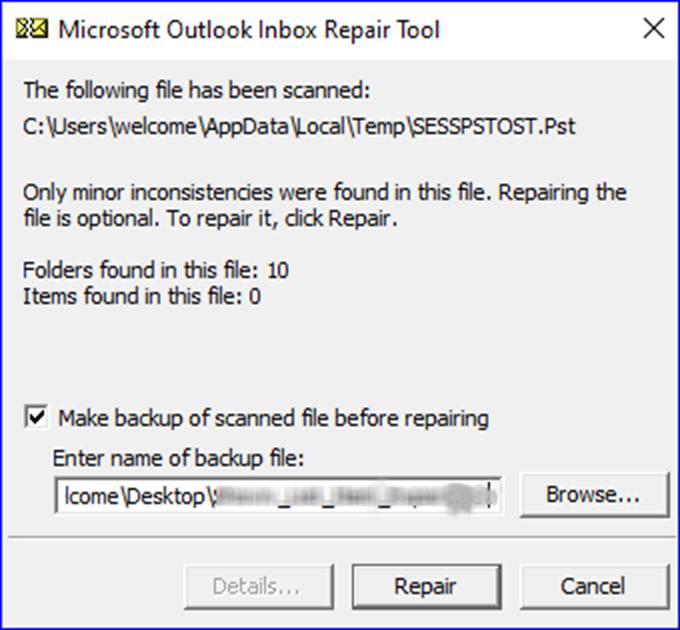
- If you find any issue, continue with the Repair button to resolve the issue.
- Once you complete the above steps, open your Outlook to check whether the issue has been resolved or not.
Limitations: This utility helps users in repairing the minor corruption issue in the OST file. If the OST file is severely damaged, the users have to explore other solutions to do this task.
Moreover, this utility can fail sometimes, so users have to go through the process of repairing OST files multiple times.
Method 2. Recreating the OST file in Outlook
In case you fail to resolve the issue using the above method, you can use this method to repair OST files manually.
Follow the steps below and complete this task.
- Start with closing the Outlook program and its related tasks.
- Then, launch Outlook again in your system.
- Navigate to the File, Account settings, Account settings, Data files and lastly, click the Open File Location.
- Kindly right-click on the file and change its name.
- After that, tap the Windows button, look for the Control panel and click on it to open.
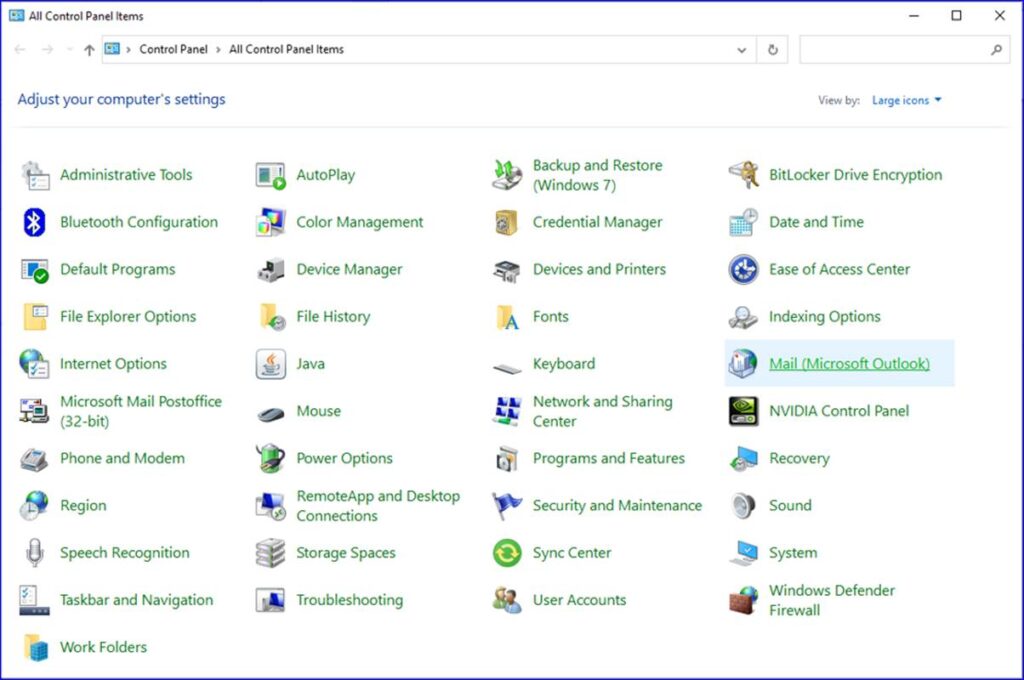
- Now, click the Mail option and then tap the Show Profiles option.
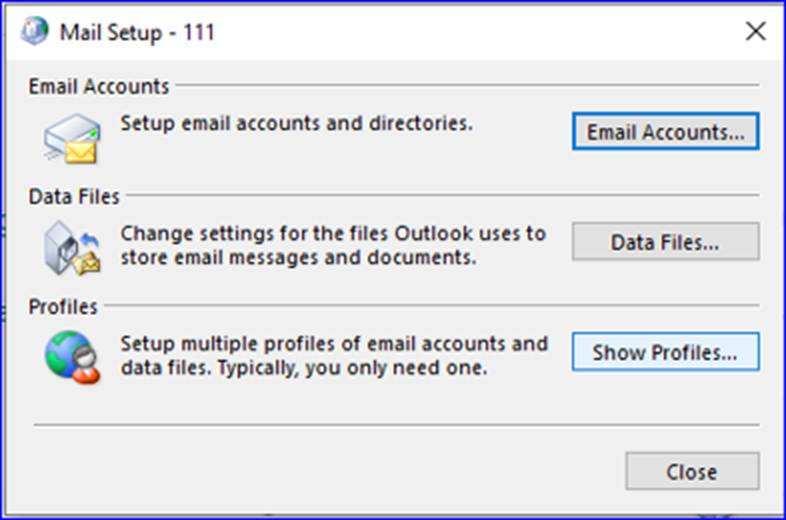
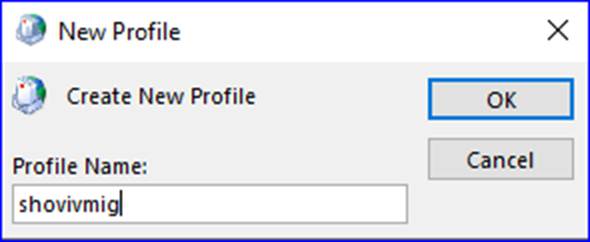
- Then, you need to hit the Add button to create a new profile.
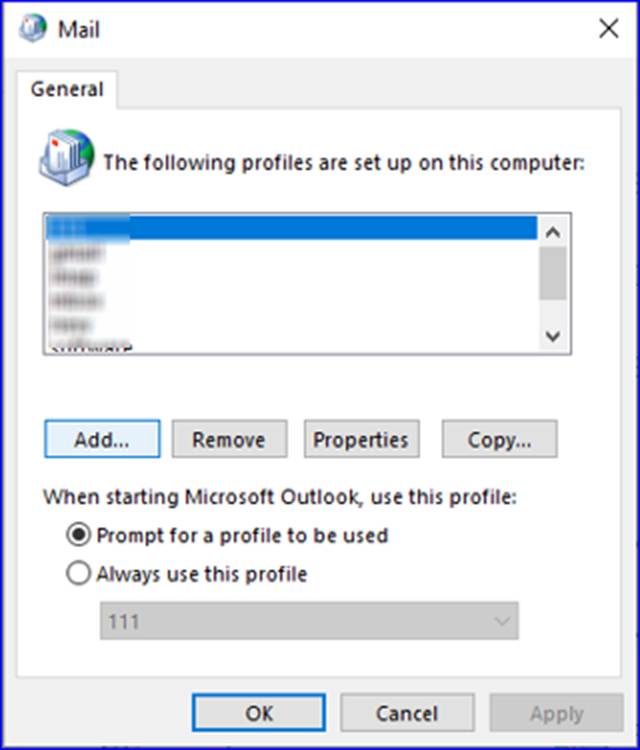
- Provide the name for the new Outlook profile, and click the OK button.
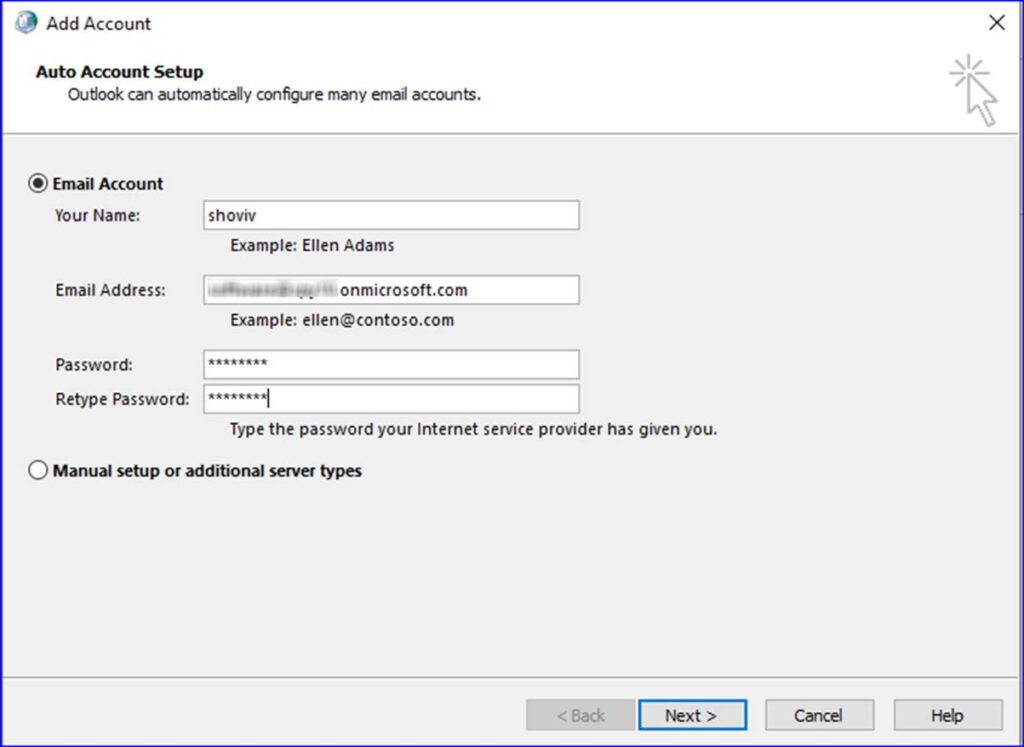
- Afterwards, enter the user name and email address. Also, make a new password for the newly created profile.
- After making the new profile, click the Finish button.
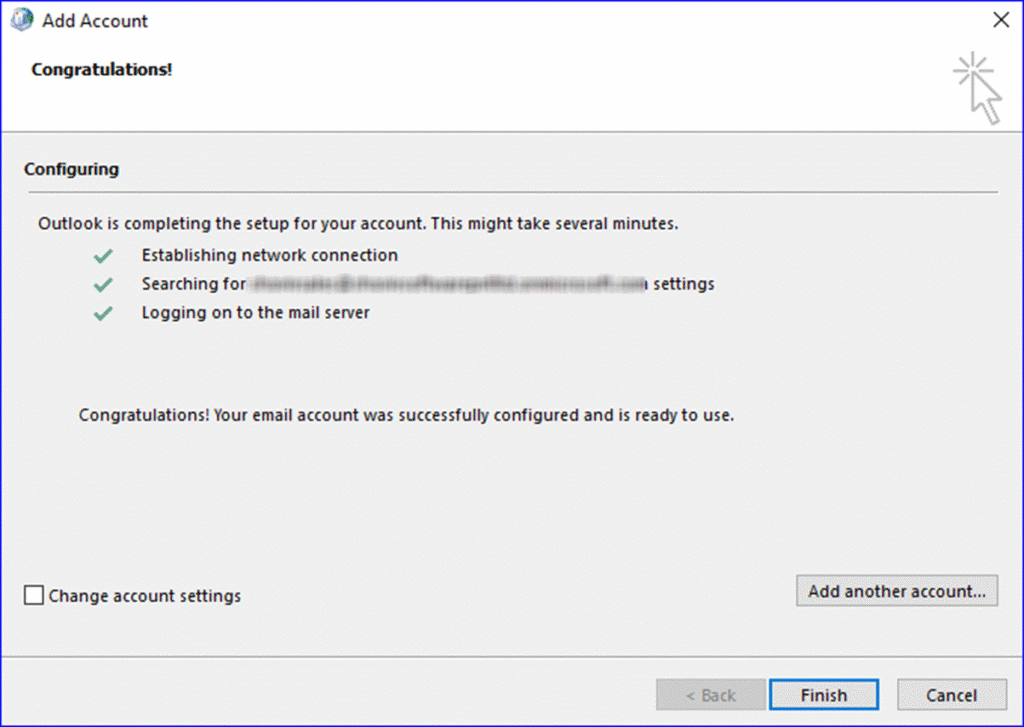
- Then, open the Outlook program and choose the newly created profile.
- The Outlook will start creating a new OST file by replacing the old one.
- After that, Outlook will also start to sync your data with the Exchange Server.
- Once the synchronization process is done, you can use the Outlook program with the new profile.
Limitations: Users may lose some data by using this solution to repair OST files manually. Moreover, this process can take time to complete the task. In that situation, users have to move towards a professional tool to make this task easy and secure.
You may also like: GainTools PST Converter Review: Outlook Migration Solution
Repairing OST files using a professional third-party tool
In many cases, the above process fails, and users have to go for a professional solution. Therefore, we recommend users use the Shoviv OST Recovery Tool to repair .ost in Outlook.
This software allows users to process multiple and large OST files in a single click. Moreover, it easily recovers the entire data of the corrupt OST files such as emails, contacts, tasks, journals, etc.
Users will be allowed to repair .ost files without affecting the folder hierarchy and the integrity of emails using this tool. Moreover, users can save their repaired OST file data to PST, EML, MSG, HTML and other file formats.
So, how does this solution work to repair OST files?
Now, we will share the complete stepwise working procedure of the Shoviv OST Recovery Tool.
Users can repair OST files using the below steps.
- Download and launch the software on your machine.
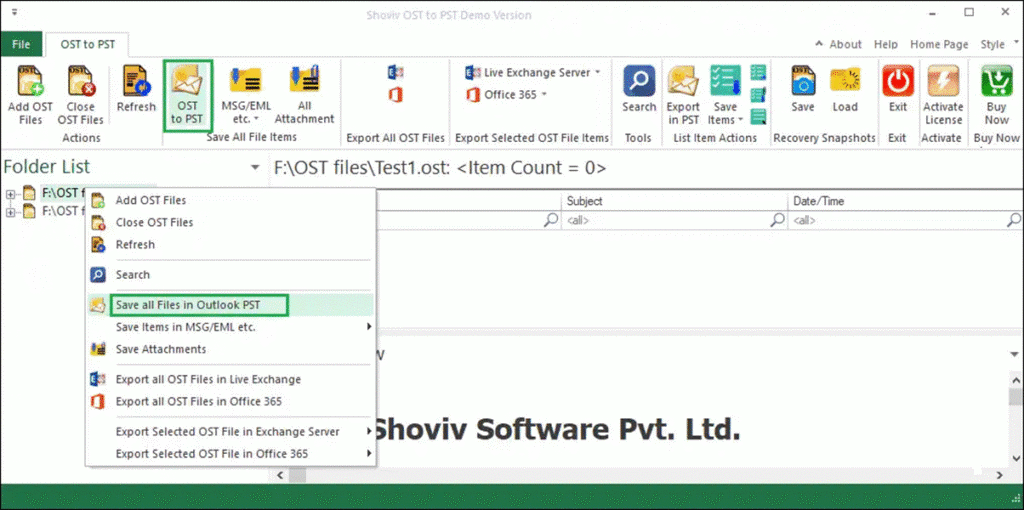
- Then, click the Add OST Files tab to add the OST to this tool.
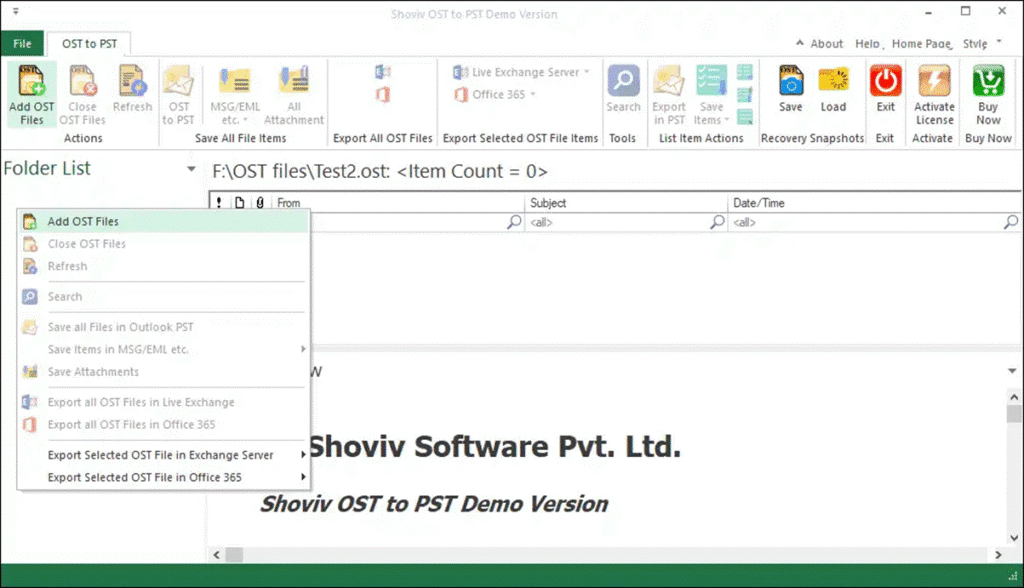
- Add the desired OST files, check the Advanced Scan option, and hit the OK button.
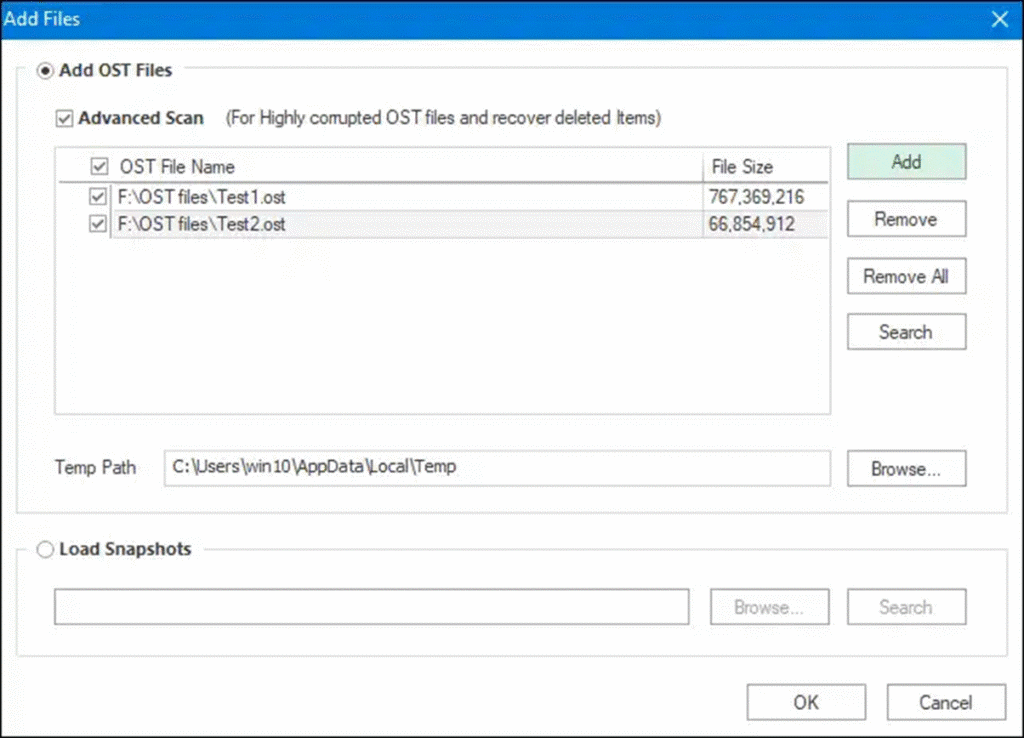
- The tool will start scanning the OST file and provide a preview of the OST file items.
- After that, select the file format to save the OST file per your requirement. (Here, we are using the PST file format as an example).
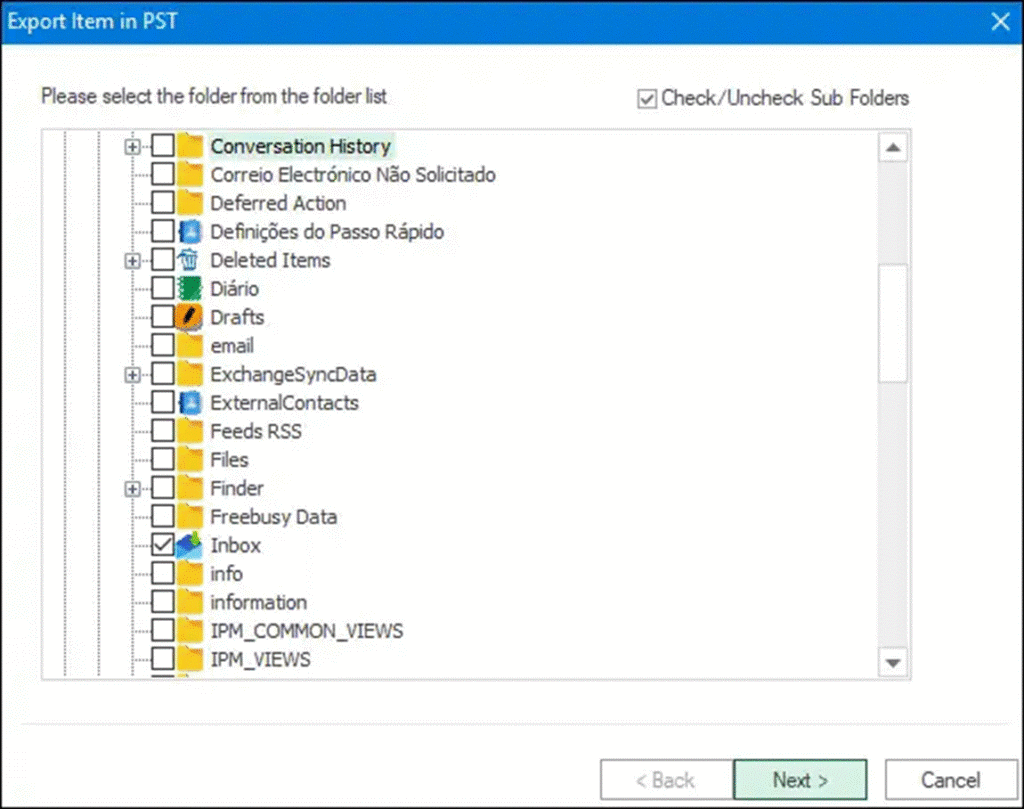
- Then, check/uncheck the subfolders from the list and tap the Next button.
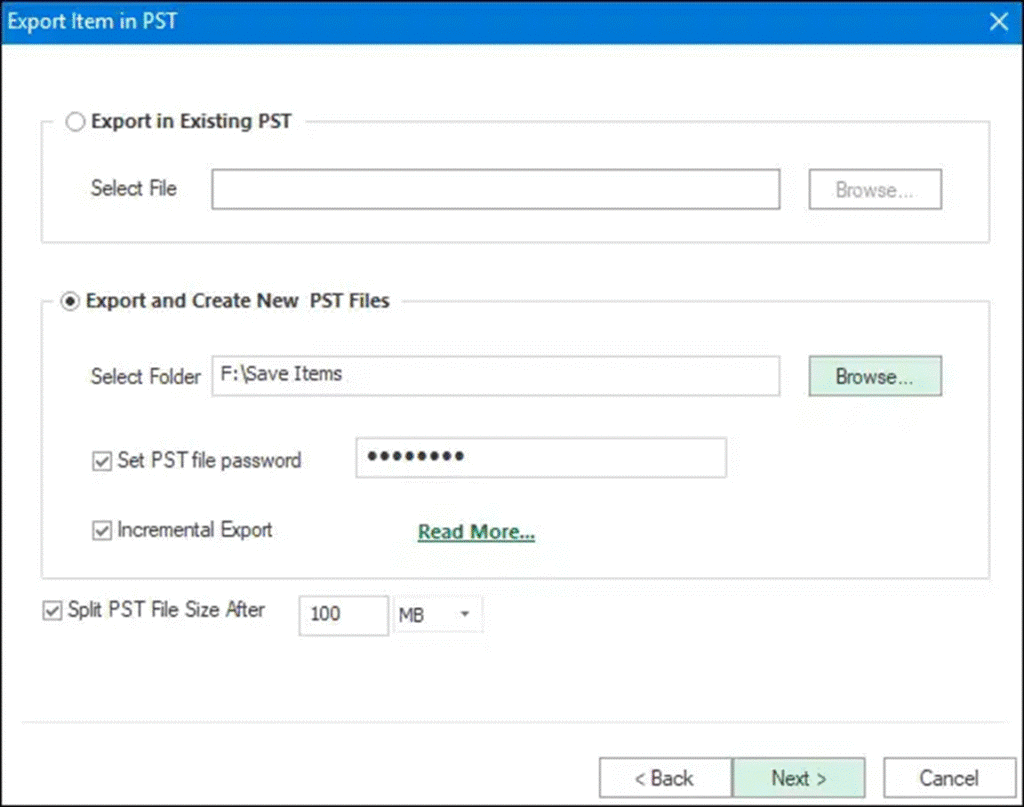
- Afterwards, choose the option to save the OST file in the existing PST or a new PST file. You can also use the splitter option to set the resultant PST file size smaller.
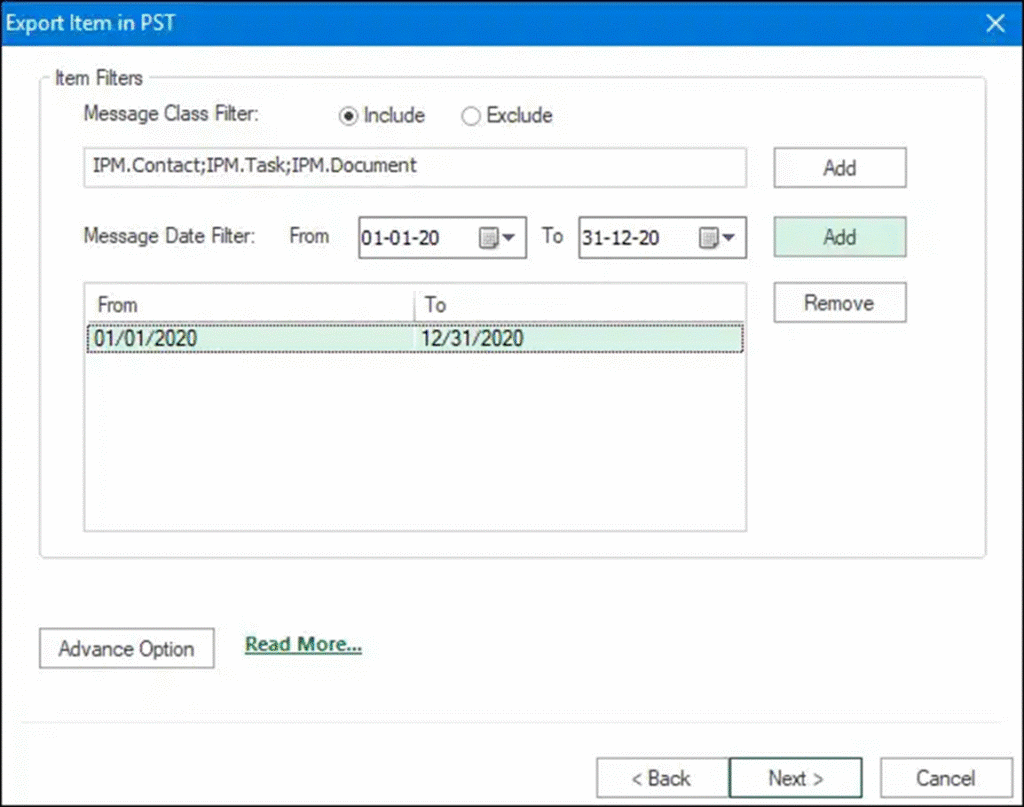
- Now, the filter page will open; use the date range and message class criteria to add or remove items. After that, continue with the Next button.
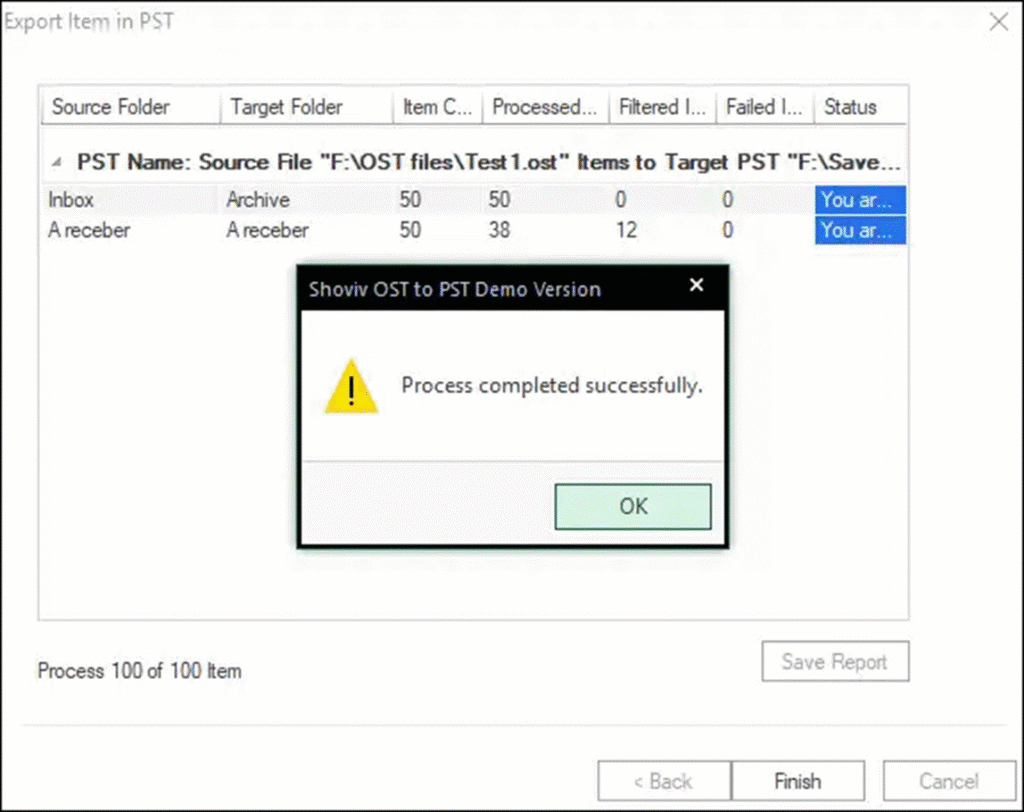
- The process will get started here. Tap the Finish button after completing this repair task.
Summing Up
This blog has shared various methods to repair OST files in Outlook. The ScanPST.exe utility involves some drawbacks, which can complicate the repair process.
Therefore, users can use the Shoviv professional tool for an instant and effective working procedure.
Moreover, users can try this tool’s free demo version on their system to get an overview of other features of this tool.
Also, users can check the capability of this tool by processing the first 50 items from each folder of the OST file.
BusinessPulse‘s professionals have extensive experience in Business and other life-changing sectors in the USA and beyond, sharing their experience and providing helpful tips and advice.